Wednesday, November 5, 2014

Matt Kenney - Toy Design

For my toy design, I was first inspired by the twist-lock  joint in Alex's presentation on Digital
Joinery Techniques.

I knew that I wanted a piece that could be repeated, and appear simple, but in repetition, be connected and used as a constructive toy.

Size: 2"x6"
Joints: Slot Joints & Twist-Lock Joints
Pieces: Infinite
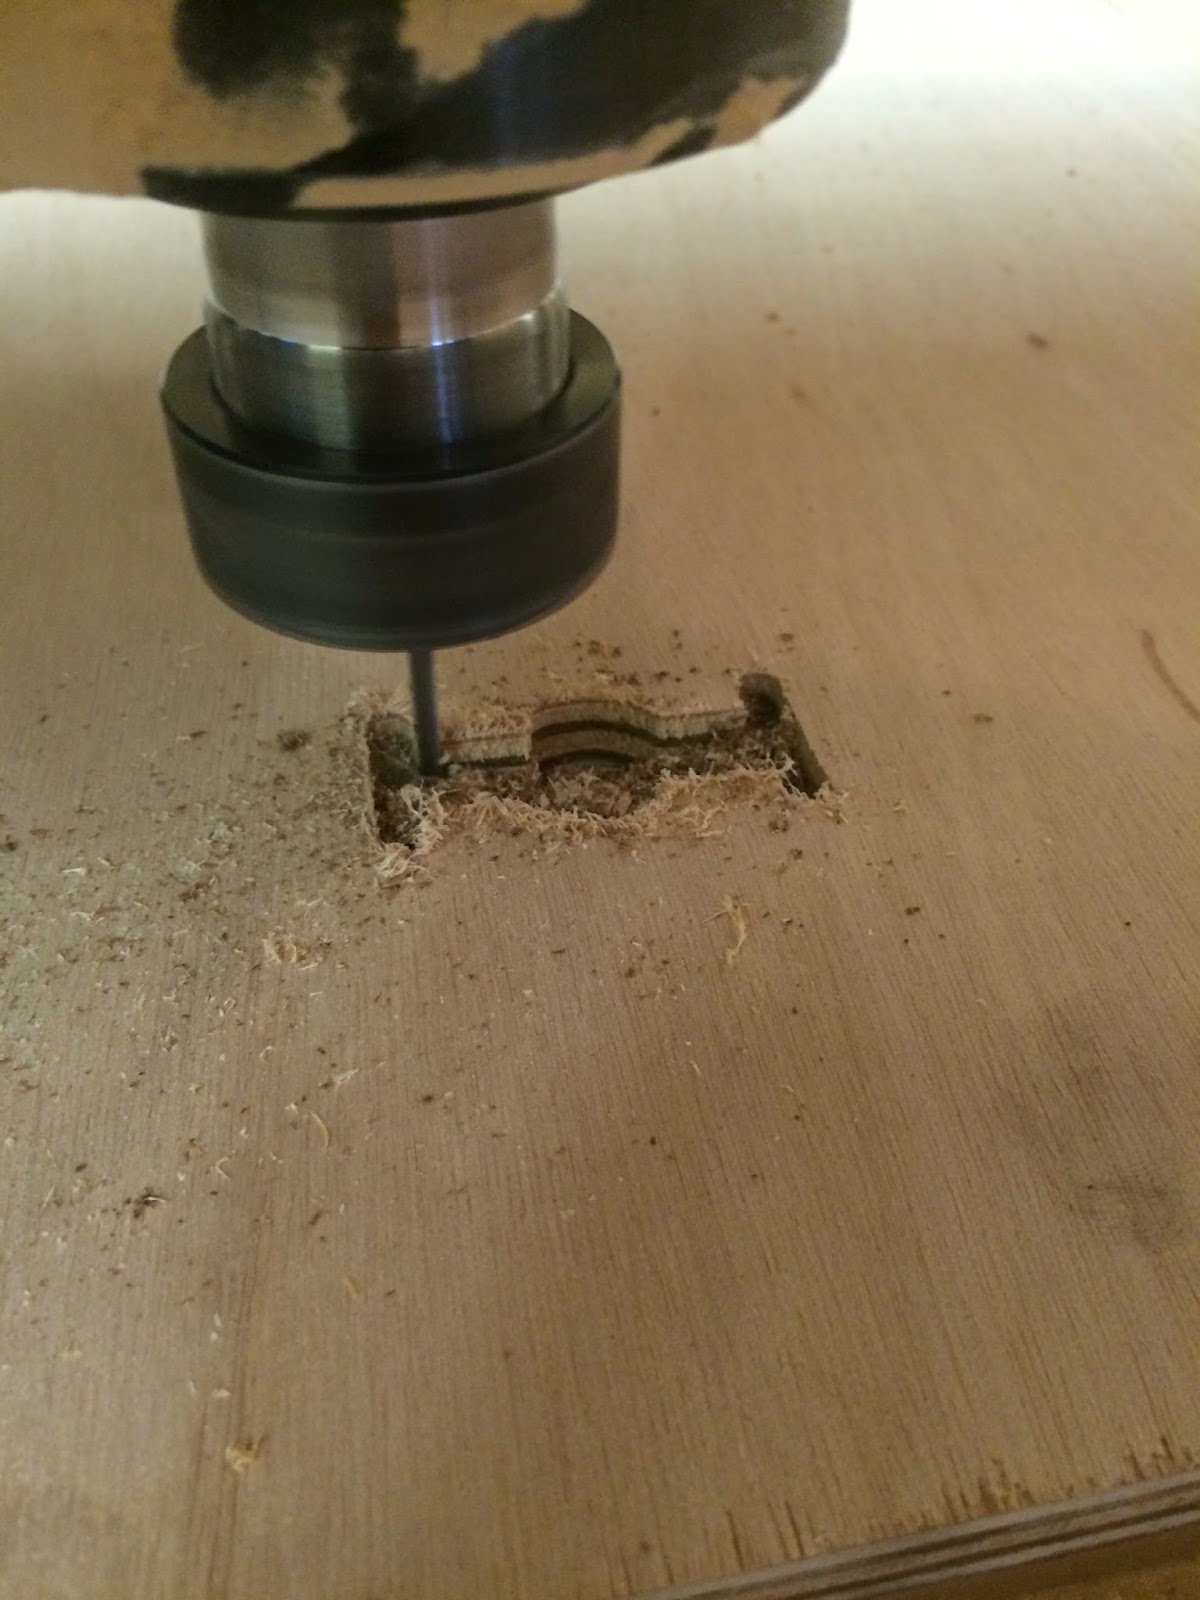
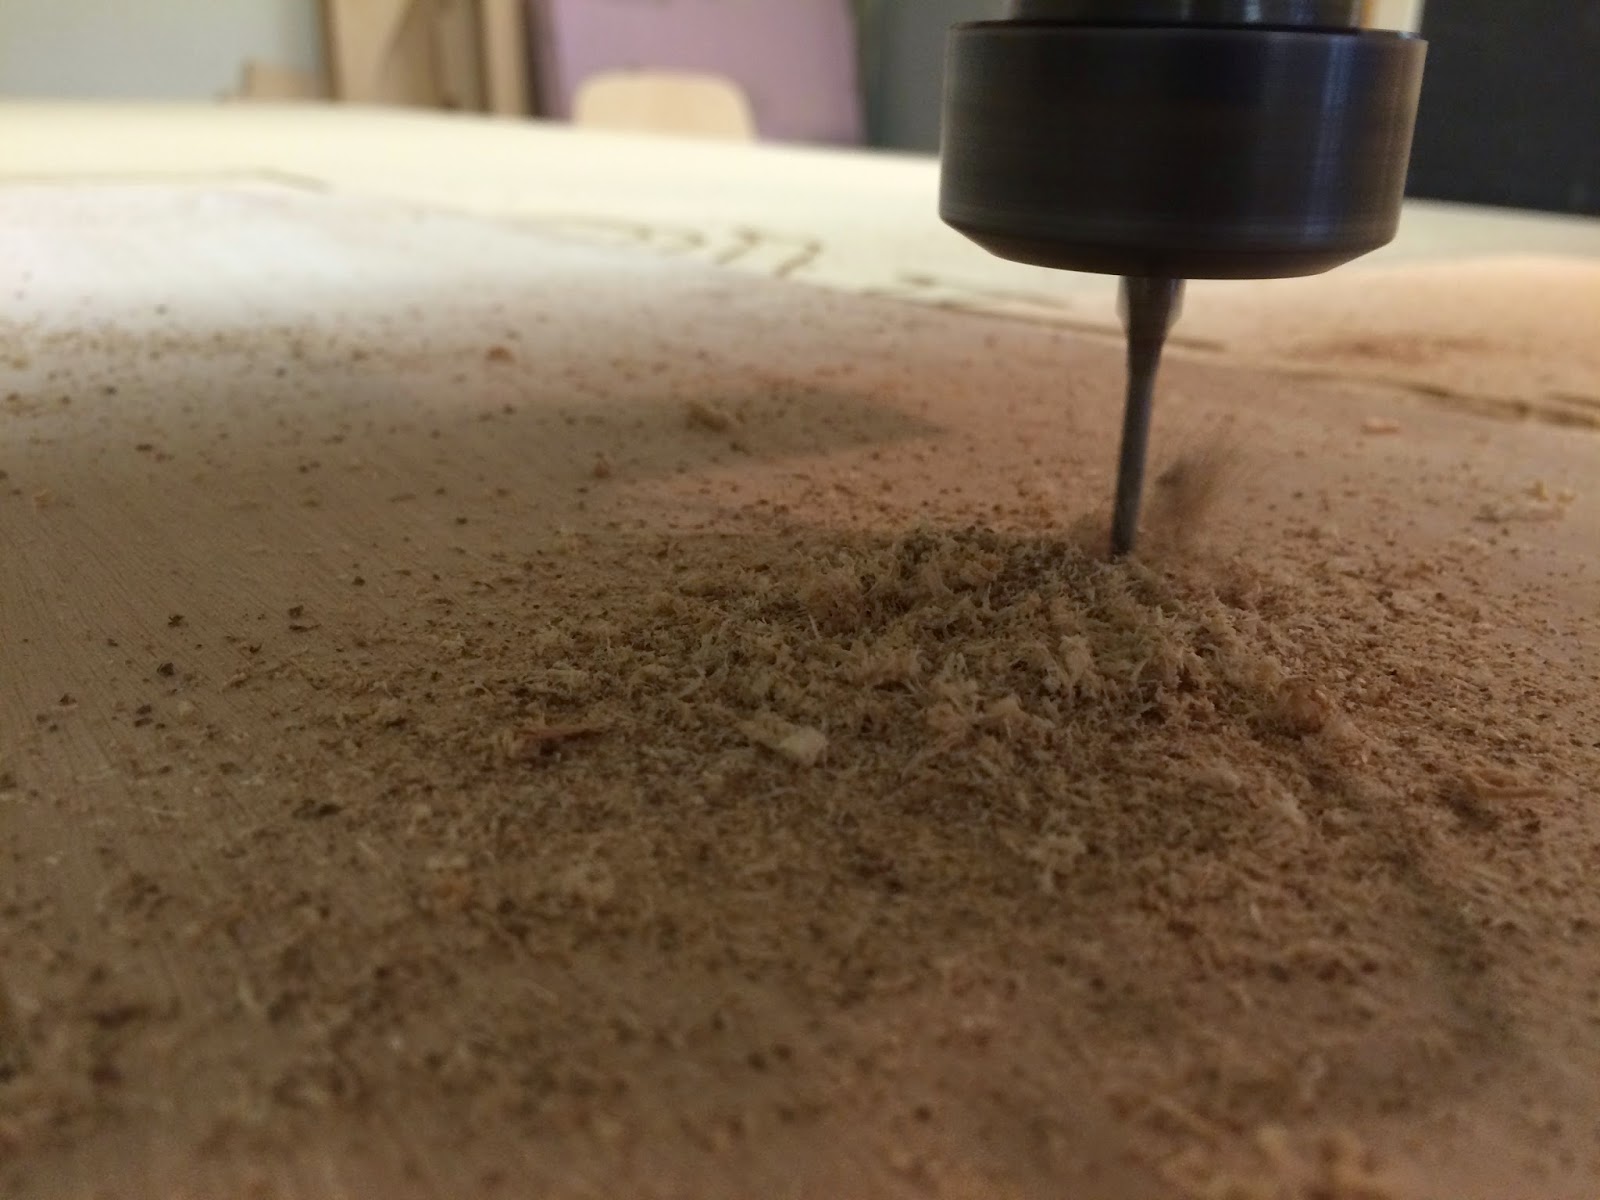
Machine: CNC Router
     -1/8" Flat Nose Bit
                - 2 1/2" Axis Pocketing & 2 Axis Profile Cut
Time: ~ 1 minute per piece

When first cutting the prototype, the joints were too tight. I used multiple iterations to find the correct tolerance and offset for a snug fit. After four prototypes, I found that the slots should have a 1/32" tolerance while I gave the twist-lock a total of 3/64" offset.


Process:


Final Pieces:


Put Together:


Joinery Technique - Charlie

Joinery Technique

Charlie Rotter


Shapes:

3" width by 3" length square with 1/2" x 1/4" cutouts on left, right, and 45 degrees

 3" diameter circle with 1/2" x 1/4" cutouts at left and right


Assembled


Rebekah Winegarner

Rebekah Winegarner
I chose to use the laser cutter over the CNC because my design functions best with 90 degree corners.
I tried several different sizes and tolerances, and cut it on 1/8th inch plywood and 1/4th inch MDF.
The 1/4th inch MDF cut the cleanest and had the tightest fit. These are the 6 different pieces are the pieces I decided to "include" in the toy set.


Joinery_Alyssa Johnston

Evolution of the joinery form...


 The Final three shapes...


Joinery Techniques Claire Ryan

Idea: 3D stars and flowers that ling together to form a grid

design of one piece of a star

outlines of all the pieces: individual pieces and linking pieces

laser cut because I couldn't get to the CNC
Ninja star? Perhaps too dangerous for children.

The flower pieces' rounded edges were too wide to fit together properly.